▼
Today, I bought a new printer: a Canon PIXMA MG7550.
First, let me tell you about my old printer. This is a HP Deskjet 5652, which is from around 2003. Back then, it was a really nice printer: it prints borderless photos and it has a duplex module for double sided printing. Hardware-wise, it's still in perfect working order after a decade. You can even still get the cartridges. The trouble is that the latest MacOS version that has drivers for the 5652 is 10.5 Leopard. You can still use the printer with generic Deskjet drivers under 10.6 and later, but then you only get basic printing using the standard settings and nothing else. So when I want to print photos, I have to boot into 10.5. That gets old fast.
Also, the Deskjet 5652 connects using USB or a parallel (Centronics) port. Not a big problem, as the Apple Airport Extreme and Time Capsule Wi-Fi base stations have a parallel port for precisely this purpose. However, you then still need the right drivers and you can't print from an iOS device using AirPrint.
Due to my limited printing needs I accepted these limitations. However, the other day I noticed that some text I was printing kept coming out looking smeary unless I printed in black and white. Also, the color cartridge had run out of cyan, so I was looking at a € 45 or so investment into a new cartridge. So I did some research, and found Canon's PIXMA line.
There are very many PIXMAs. I think they're mostly lower-end photo printers. You can get one for well under € 100, but I decided to get a higher-end model: the MG7550. This one has 10/100 Mbps Ethernet as well as 802.11b/g/n Wi-Fi and USB 2 (no USB cable included, though). It also has a built-in scanner and it can print on printable CDs/DVDs/blu-rays. I got one at the local electronics store for € 134. It looks like it costs a bit more online, probably in no small part because the thing is huge and weighs 10 kilos, so that free shipping must eat into the online retailer's margins quite a bit.
I hooked the printer up using an Ethernet cable and installed the six ink "tanks". Apparently, unlike the inkjet printers I've used previously, the MG7550 has a fixed print head and the ink cartridges just provide ink. There's the requisite yellow, cyan and magenta, as well as gray, black and pigment black. The regular black is dye-based and mainly used for photos. The pigment-based black is mainly used for text. This is all selected automatically. I like the fact that there's a separate cartridge for each color, so you can replace them individually as they run out. (Yes, the cartridges are sold individually.) Each tank has a built-in LED that comes on when it's inserted correctly.
Canon wants to you to install software from a CD (Windows), their website (Mac) or the app store (iOS) to set up the printer. Not sure what that does, because after answering a few questions using the printer's touch screen and the color alignment procedure, the printer is ready to be used. The Mac discovers the printer using Bonjour. Because the printer supports the AirPrint protocol, there's no need to install any drivers—that's only necessary for the scanner part. The Mac automatically downloads those drivers from Apple.
Printing from the iPhone is even easier: select Share and then Print, the printer shows up... that's it. (It doesn't matter that the iPhone is connected over Wi-Fi and the printer over Ethernet.) The printer has two paper trays: a big one that holds A4 paper, and a second, smaller one that holds 15x10 cm photo paper. When printing from the iPhone, you simply select 15x10 cm / 6x4 inch and the printer will use the appropriate paper. Printing from the iPhone quickly became my preferred option, as printing from the computer involves a lot more settings, although printing from iPhoto is relatively simple. You can also print from an SD card, which is nice, but not quite as easy as using the iPhone.
The touch screen is really cool, and removes the need for inscrutable messages. When you load paper, the printer asks you to select the size and type, and then warns you when you try to print using a different size or type of paper. Printing text is pretty fast. Photos take a bit longer, but it's not too bad. When the printer starts printing, a small tray flips down to catch the printouts. The prints are really sharp and photos are very colorful, but the black could stand to be blacker, both for text on plain paper and for photos. I'll have to try Canon's photo paper to see if the results are better than with my HP and no-name photo papers.
Most people probably don't really need a printer anymore these days. However, if you do any printing at all, you really should get a modern printer: they're super cheap and produce very nice output, while AirPrint and Google Cloud Print have finally solved the driver issue. And with 15x10 cm photo paper loaded I can wirelessly print photos from my iPhone when the mood strikes.
IPv6 and firewalling
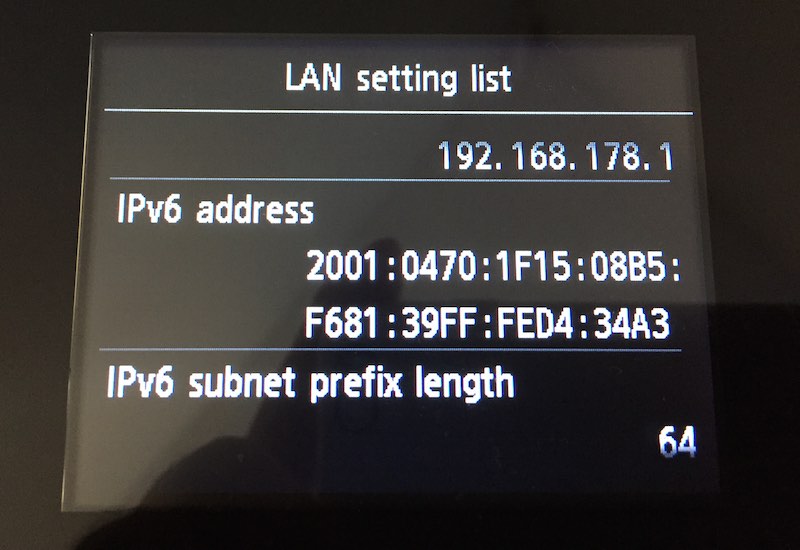
When perusing the settings, I noticed that the printer supports IPv6. I posted this photo to Twitter:

Only after I posted the photo, I realized that the printer's IPv6 address is now known to the world, so presumably, everyone will be able to print to my printer. After digging through the menus, it turns out there's no way to set an IPv6 address manually, and the printer doesn't use privacy addresses, either. So no security through obscurity for me. There's also no security settings to disallow remote printing. So I basically have three options:
- Do nothing and see what happens
- Set up an IPv6 firewall between my LAN and the IPv6 internet
- Disable IPv6 on the printer
None of these options are particularly great. I wish Canon had given all of this some more thought.
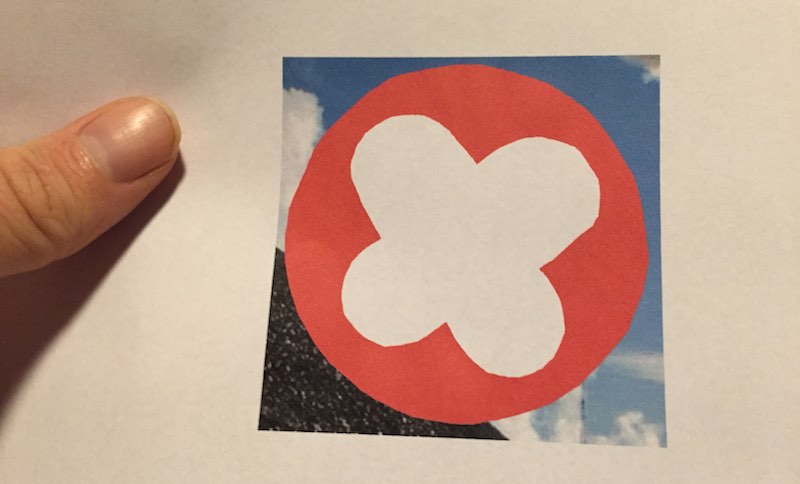
Update: this is what you get when you challenge the internet to print on your printer over IPv6:

Permalink - posted 2015-03-03


